Guides
Pinhole Photography Guides: How to Take Pinhole Photos, a Learning Path
Pinhole photography guides in a sensible order: how the camera works, building or buying one, exposure, choosing film or paper, developing and scanning.
Pinhole photography rewards a little order. The craft is simple, but each step depends on the one before: an exposure cannot be worked out without knowing the f-number, the f-number depends on the camera, and the camera depends on what film or paper it will hold. Taking the steps in sequence saves a lot of spoiled frames.
The guides collected here follow that sequence. They start with what happens inside a dark box, move through choosing or building a camera and calculating exposure, then cover the materials and what happens after the shutter closes. The full list of individual guides and camera and place pages sits at the foot of this page.
A Learning Path in Five Steps
Nobody has to follow this order strictly, and plenty of people start by buying a camera on impulse. Still, for anyone learning how to take pinhole photos from scratch, the steps below build on each other in a way that keeps mistakes small and cheap.
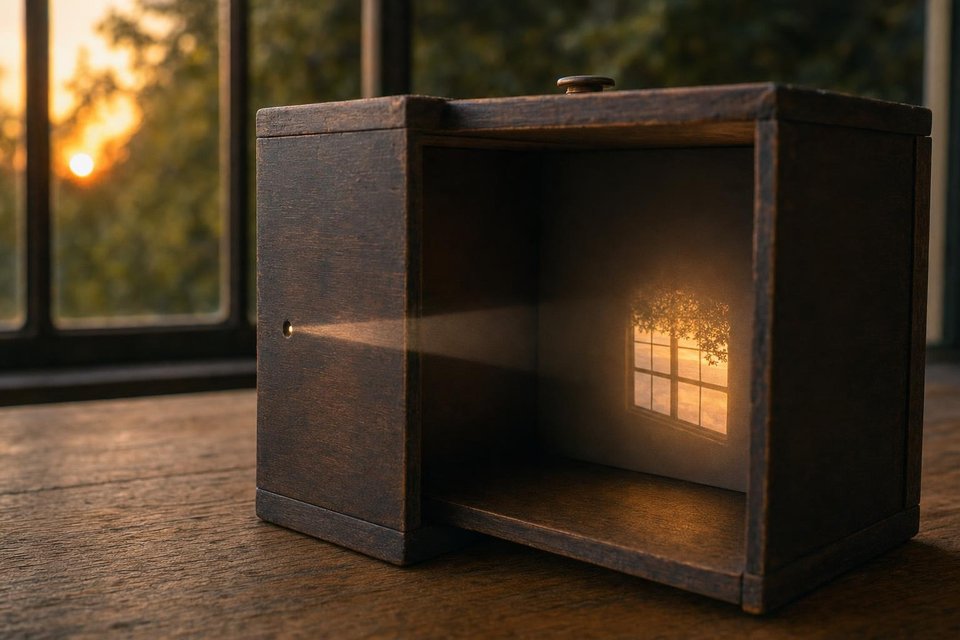
- Understand the box. Learn why a small hole forms an image, how its size is chosen and how the distance to the film sets the angle of view.
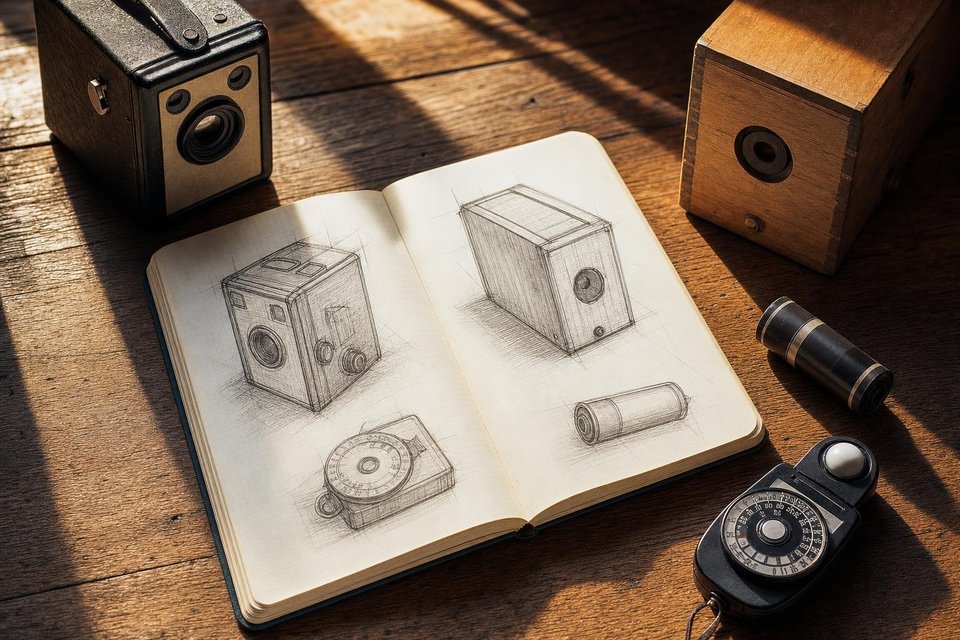
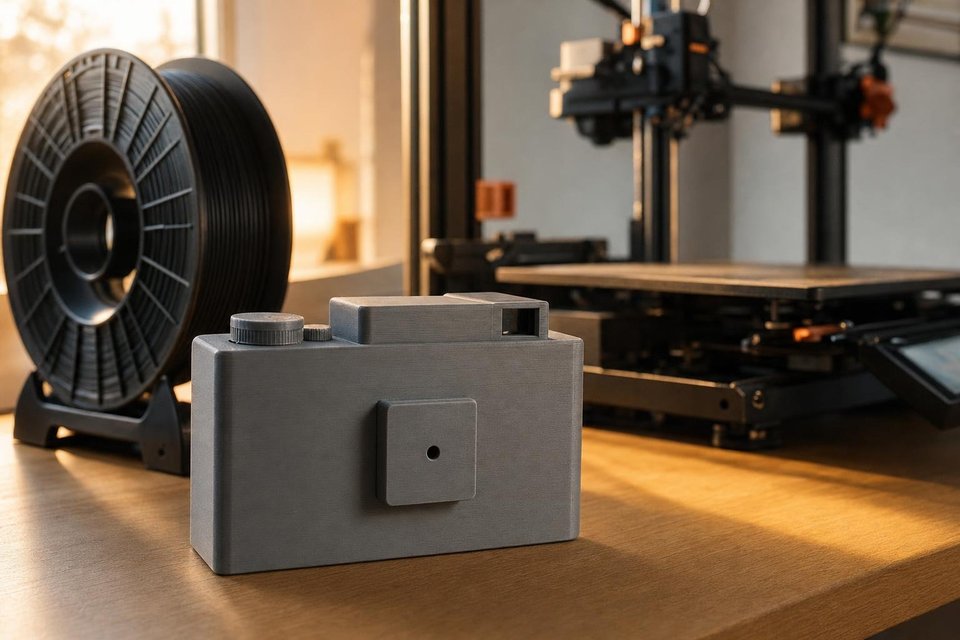
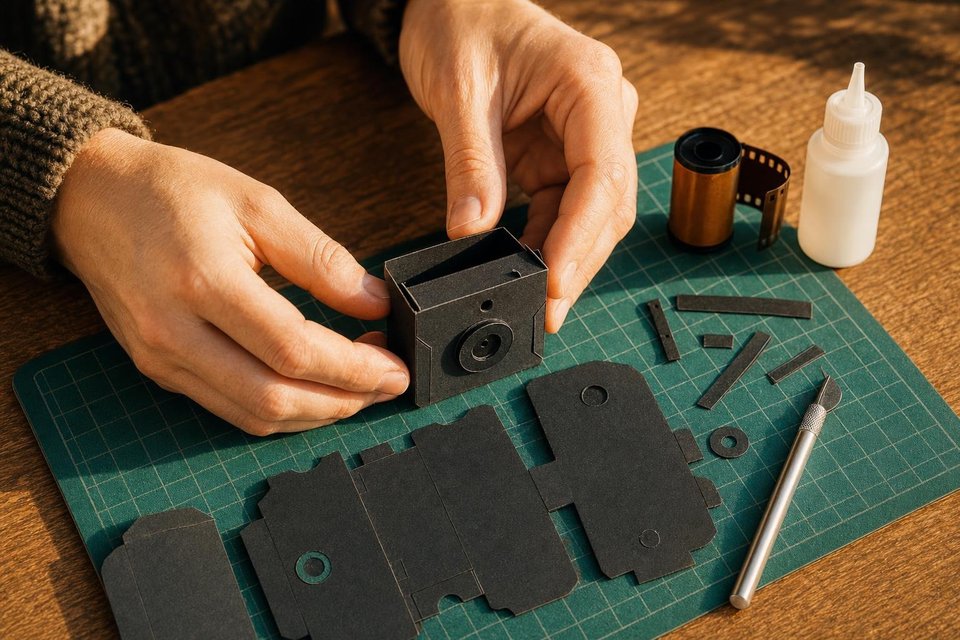
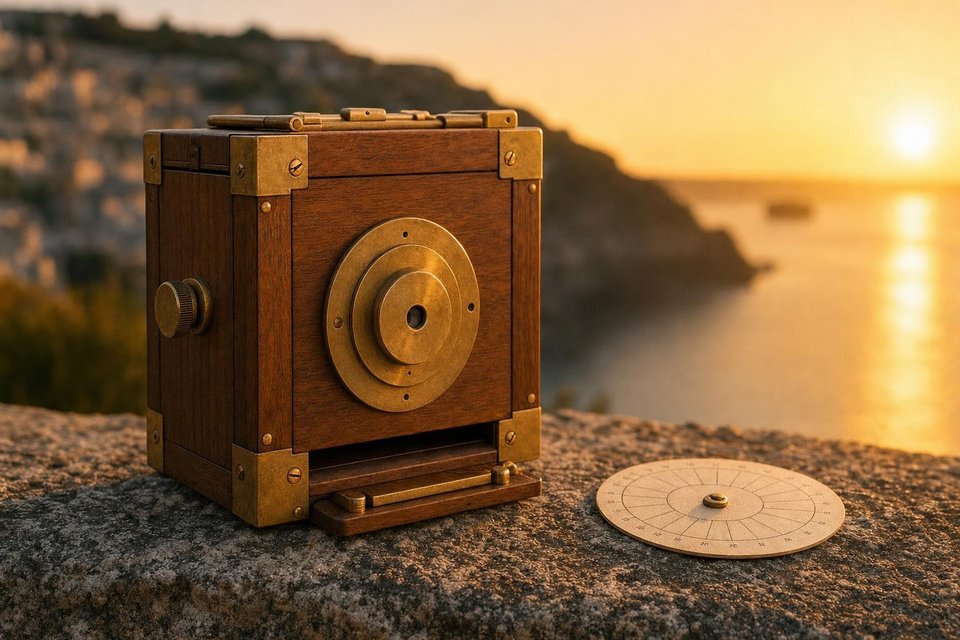
- Pick or build a camera. A matchbox, a cardboard kit, a 3D-printed body or a hand-finished wooden camera all work; the choice decides the format and f-number.
- Calculate exposure. Meter at f/22, multiply by the pinhole factor, then correct for film on anything longer than a second.
- Choose the material. Paper negatives for cheap practice, black-and-white film for latitude, colour or instant film once the basics are reliable.
- Develop and scan. Process at home or through a lab, then contact print, enlarge or scan the negatives.
The first two steps are covered in depth in the pinhole camera guide, which explains how the camera works, how to build one at a table and what separates wooden, plastic and large format models. Step three has its own page, the Zero Image exposure guides, with a live calculator, worked tables and instructions for printing a pocket exposure card for any camera.
Choosing the First Material
Most beginners overthink the camera and underthink the material. The same box behaves very differently loaded with paper, slow film or fast film, and the choice affects exposure time, cost per picture and how forgiving the results are.
| Material | Typical speed | Forgiveness | Good for |
|---|---|---|---|
| Photo paper negative | ISO 3–6 | Moderate | Cheap practice, solargraphs, contact prints |
| Black-and-white film | ISO 100–400 | High | Most subjects, home development |
| Colour negative film | ISO 100–400 | High | Daylight scenes, lab processing |
| Slide film | ISO 50–100 | Low | Experienced users, precise metering |
| Instant film | ISO 100–800 | Low | One-off prints, immediate results |
Black-and-white negative film sits in the sweet spot for most learners. It tolerates exposure errors of a stop or more, it develops at home in a small tank with very little equipment, and Ilford publishes a clear reciprocity rule for its HP5 Plus and FP4 Plus films. Paper is cheaper still and teaches a lot about exposure, though its high contrast takes some getting used to.
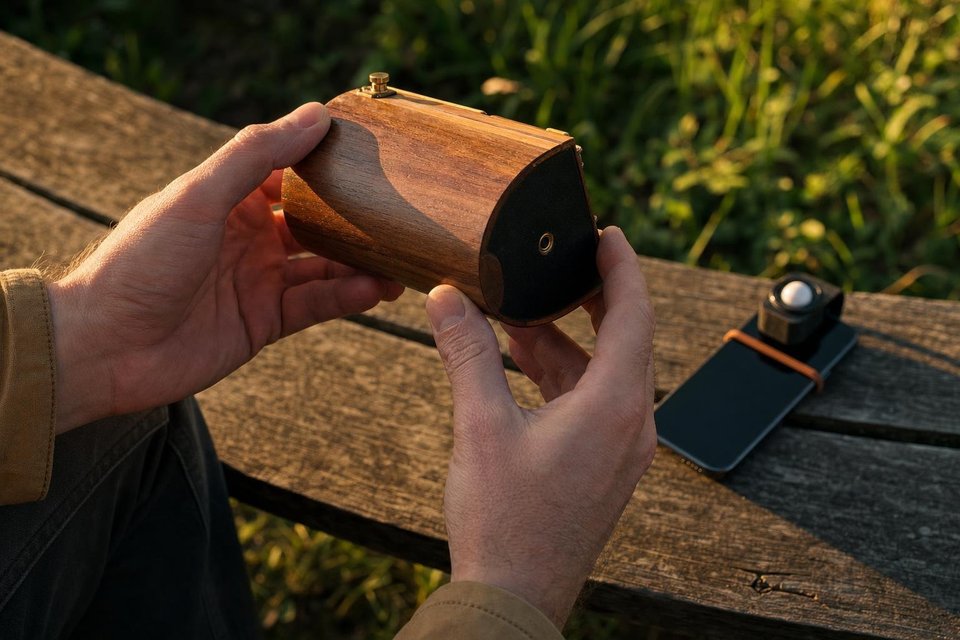
A light-tight box, a sewing needle, a square of thin aluminium, black tape, a phone with a light meter app and a box of photo paper. Everything else can wait until the first negatives come out of the developer.
From Technique to Practice
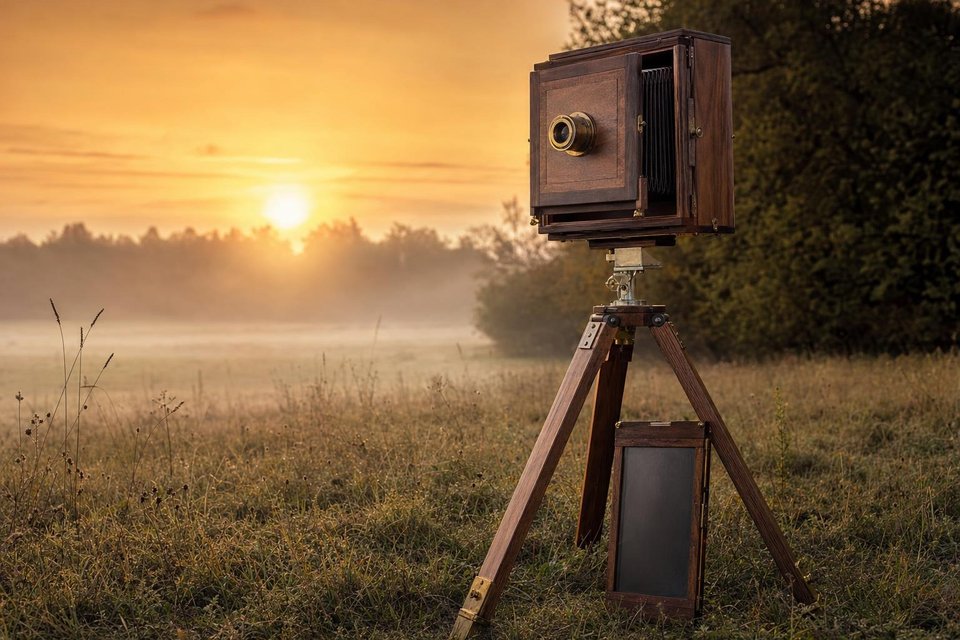
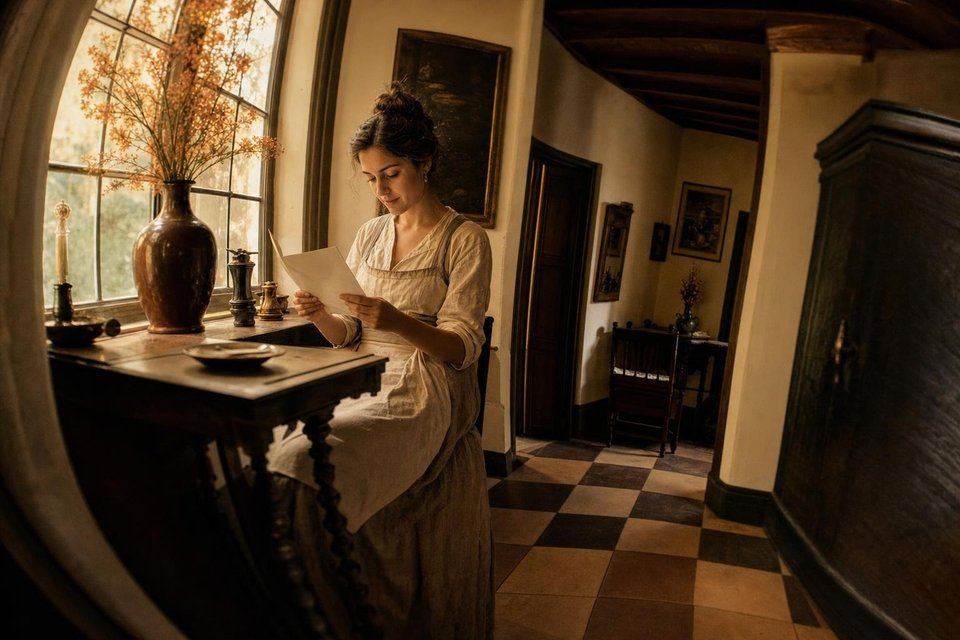
Once the basics are reliable, the guides branch out into particular techniques. Portraits are the hardest subject for a pinhole camera, because people move during long exposures, and pinhole portraits works through light, distance and posing in detail. Bending the film plane opens up a different direction entirely, covered in anamorphic photography with a curved wooden camera. Large format sheet film, with its smooth tones and contact prints, has its own page on 4×5 pinhole photography.
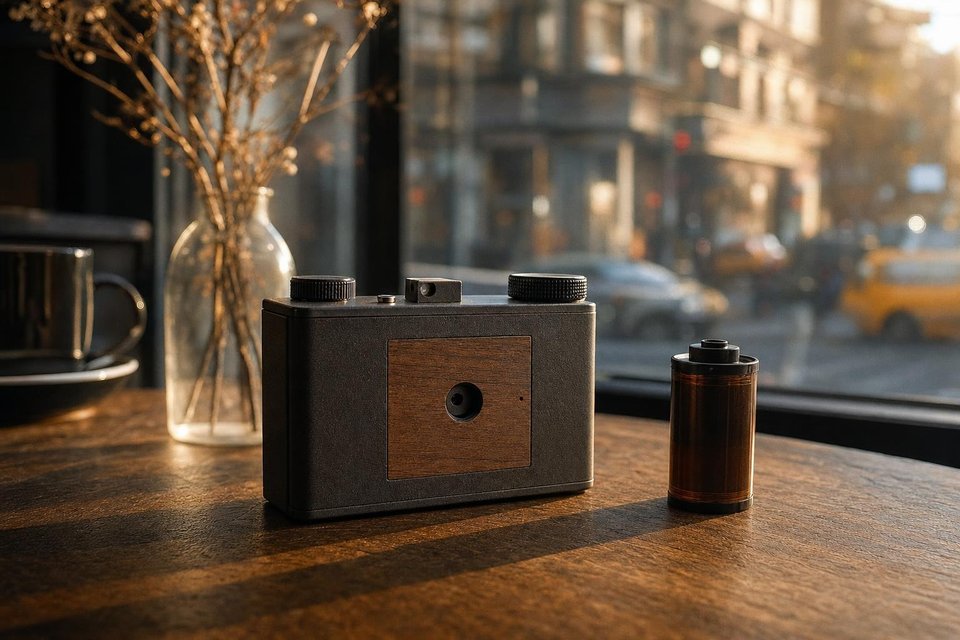
Camera write-ups sit alongside the technique guides. They describe how particular wooden, plastic, cardboard and printed cameras behave in use, from loading to winding, so that a choice can be made before money changes hands.
- Read the camera guide before buying anything.
- Shoot one roll or one box of paper with notes on every frame.
- Compare the notes with the negatives before changing more than one thing.
- Keep a printed exposure card in the bag.
Taking the Camera Out
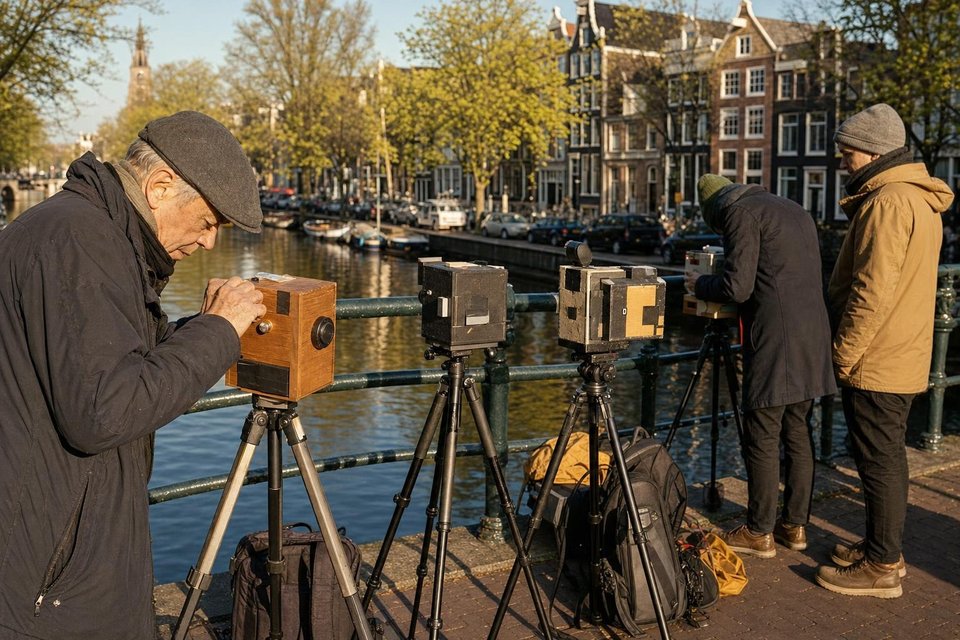
The first outing is best kept short and local. A street, a park or a stretch of river within walking distance gives a mix of light and distance without the pressure of a special trip, and familiar places make it easier to judge what the camera did. Bright, overcast days are kind to beginners: exposures stay manageable, shadows are soft and there is no sun flaring into the hole.
Support matters more than anything else on that first walk. A small tripod, a beanbag or simply a wall turns a shaky half-second into a clean frame. Write the time, the meter reading and the direction of the light for every exposure, even if it feels tedious. When the negatives come back, those notes are the only way to tell whether a thin frame was caused by the meter, the arithmetic or a moment of impatience on the count.
Development, Scanning and Printing
What happens after the exposure matters as much as what happens before. Black-and-white film can be developed in a kitchen with a changing bag, a small tank and three bottles of chemistry. Paper negatives need a dim red safelight and three trays, and they print by contact onto a second sheet to give a positive.
Scanning brings the negatives to a screen. A flatbed scanner with a film adapter handles medium and large format well, while 35 mm benefits from a dedicated film scanner or a digital camera with a macro lens and a light panel. Pinhole negatives often have soft, low-contrast tones, so a gentle curve adjustment is usually all they need.
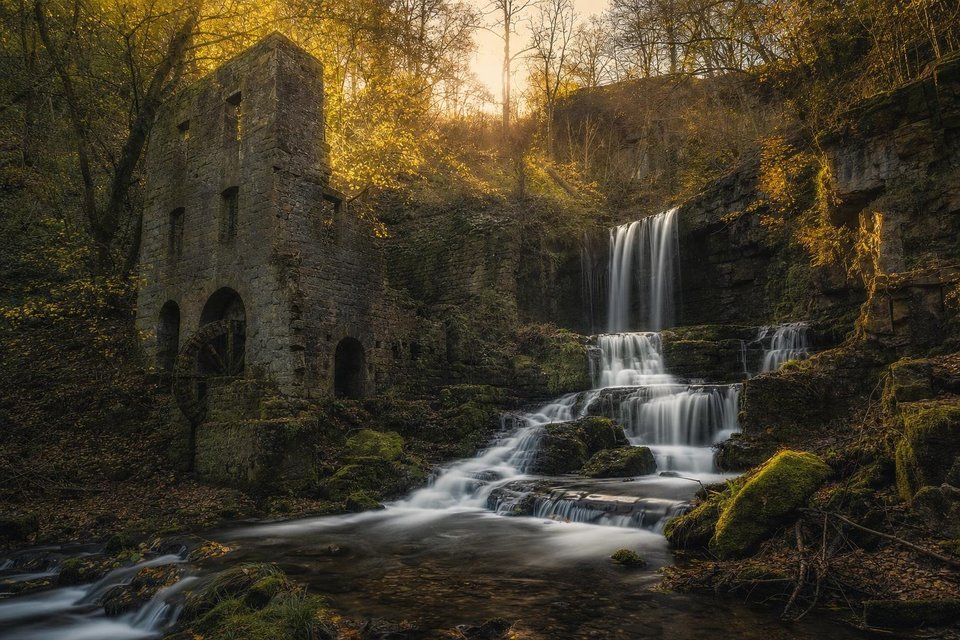
The gallery shows where all of this leads: slow, soft, quiet pictures that look like nothing else in photography. And for the cameras and processes behind such pictures, the makers section covers home-built boxes, printed bodies, panoramic drums and the people who made the technique famous.
All guides

Frequently Asked Questions
How long does it take to learn pinhole photography?
The basics fit into a weekend. Building a simple box, exposing a few sheets of paper and developing them in trays shows the whole process from start to finish. Getting reliable exposures on film usually takes a few rolls, mostly to learn the reciprocity correction and the winding count of a particular camera. After that the learning is about seeing, which never really stops.
Is a darkroom needed for pinhole photography?
Not for film. Black-and-white roll film can be loaded into a developing tank in a changing bag and processed in a kitchen, and colour film can go to a lab. A darkroom, or a bathroom with the light blocked out and a red safelight, becomes necessary for paper negatives and contact prints, since photo paper is handled in the open under safe light.
What is the cheapest way to start?
A matchbox or shoebox camera, a needle, a scrap of drinks-can aluminium and a box of photo paper. Paper negatives are slow, around ISO 3 to 6, which makes exposures long and forgiving, and they can be developed in three trays with ordinary print chemistry. The whole set-up costs little more than a single roll of film and a lab fee.
Can pinhole photos be taken on a phone?
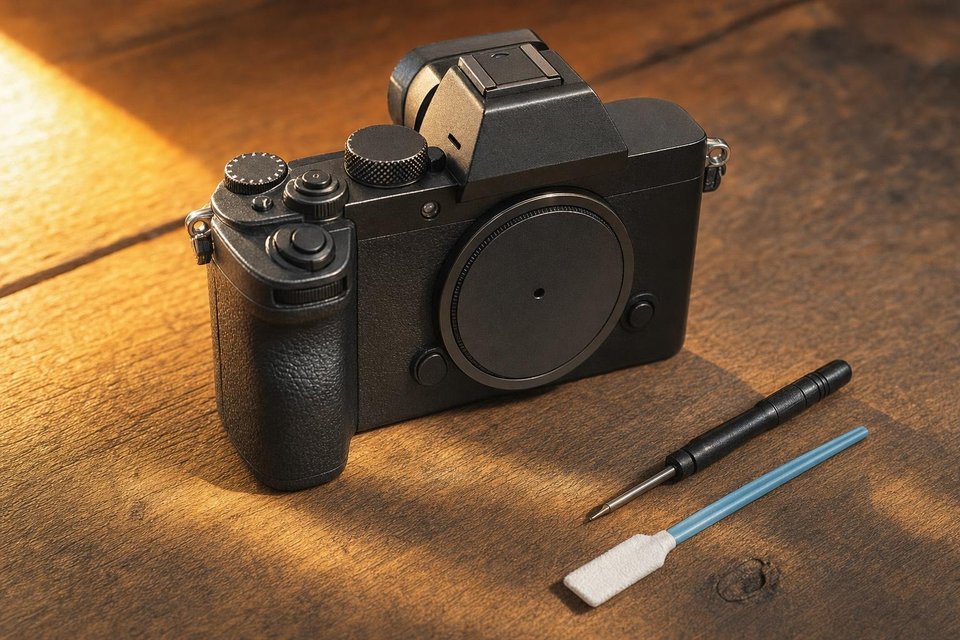
Not with the built-in camera, which always uses its lens. A phone is still useful as a light meter, with apps that accept any f-number and some that apply reciprocity for film. For digital pinhole pictures, an interchangeable-lens camera with a pinhole body cap is the simplest route and gives instant feedback on exposure and framing.