DIY
360-Degree Pinhole Cameras: Curved Film, Several Pinholes and Very Wide Pictures
How 360-degree and panoramic pinhole cameras work: curved film, several pinholes, coverage geometry, exposure and what the pictures look like.
Point a lens at a landscape and it decides how much of the world you get. A pinhole has no such opinion. It throws light in every direction it can reach, so the only real limit on the angle of view is the shape of the box behind it, and that is why pinhole builders have been bending film into curves for as long as there have been tins to bend it into.
A panoramic pinhole camera can be as simple as an oatmeal tube with a strip of paper inside, or as elaborate as a machined drum with eight holes and a roll of 120 film wrapped around a core. The geometry behind both is the same, and once it clicks, the strange stretched pictures these cameras make start to look less like accidents and more like a choice.
The cylinder trick: why curved film sees wider
Put a pinhole in the side wall of a round tin and lay film against the inside of the opposite wall. Light entering the hole crosses the tin and lands on the curve. Because the film follows the circle, the edges of the picture sit closer to the hole than the middle does, and the image keeps going long after a flat sheet would have run out.
There is a tidy piece of school geometry hidden here. A point on a circle sees any arc of that circle at half the arc’s angle measured from the centre. So film wrapped round half the tin, 180 degrees of the wall, gives a 90-degree view. Wrap it two thirds of the way round and the view grows to 120 degrees. The theoretical ceiling is just under 180 degrees, because the film can never reach all the way round to the hole itself.
Coverage for a tin 100 mm across
The table below runs that rule for a tin with a 100 mm diameter, roughly the size of a large food can. The film length is the arc you would cut from a strip of paper or roll film to reach a given angle of view.
| Angle of view | Film arc (of 360°) | Film length |
|---|---|---|
| 60° | 120° | 104.7 mm |
| 90° | 180° | 157.1 mm |
| 120° | 240° | 209.4 mm |
| 150° | 300° | 261.8 mm |
A 150-degree strip leaves only a narrow gap either side of the hole, and in practice the tape, the shutter flap and the seam of the tin start to shadow the ends. Most builders stop somewhere between 120 and 140 degrees and accept that as the useful width of a single-hole panoramic pinhole camera.
Exposure across a curved frame
On a flat film plane the corners always come out darker than the middle. Light reaches them at a slant, it travels further, and the hole looks smaller from an angle. A curved back changes the sums in a surprising way.
Take the centre of the film as the reference, 100 mm from the hole in the tin above. A point 30 degrees off the axis is only 86.6 mm away, at 45 degrees it is 70.7 mm, at 60 degrees just 50 mm. Each of those shorter distances adds light, while the slanted hole and the slanted film take it away again. On a perfect cylinder the two effects cancel almost exactly across the width, so the frame is far more even from side to side than a flat panoramic camera of the same angle would be.
Up and down is another story. The tin is straight in that direction, so the top and bottom of a tall frame still fall off the way a flat camera would. Keep the strip low compared with the diameter and the effect stays mild.
For the exposure itself, meter at f/22 and use the centre f-number. At f/270 the factor against f/22 is about 151, so a reading of 1/125 s becomes roughly 1.2 seconds, and a dull 1/15 s becomes ten seconds before the film’s own long-exposure correction. The calculator on the pinhole camera guide handles the arithmetic for any f-number.
From wide to all the way round
A single hole can never see behind itself, so a true 360-degree pinhole camera has to split the circle. The usual way is to put several holes around the wall and give each its own slice of film, with thin black walls inside the drum so that one hole cannot fog the next hole’s frame. Four holes means four 90-degree views; six holes gives six narrower ones, each with less distortion.
The seams are the hard part. Each hole sees its scene from a slightly different point, so where two frames meet, nearby objects double up or vanish while distant hills join cleanly. Anyone who has built one learns to place the seams on sky, water or a blank wall.
- Choose the drum. A round tin or a 3D-printed cylinder 60–100 mm across, matt black inside.
- Divide the circle. Pick the number of holes, mark them at equal spacing and fit a black baffle between each pair.
- Make the pinholes. Thin brass or drinks-can foil, sized to the distance each hole has to throw, about 0.3 to 0.37 mm for this range.
- Load the film. Paper strips first, then roll film on a central core if the design allows winding.
- Cover every hole. One shutter band that slides round the drum opens all holes at once, which keeps the exposure equal.
The other route is to keep a single hole and turn the camera. A slit-scan design moves the film past a narrow slit while the body rotates on a spindle, painting a full circle in one strip. The Lomography Spinner 360°, a spring-driven camera with a lens, is the best-known commercial example of the idea; pinhole versions exist mostly as home projects, and they ask for a steady hand on the release cord.
What the pictures look like
Curved-film pictures have their own grammar. Distances along the curve are proportional to angles, so a horizon on the centre line stays dead straight while everything above and below it bows. Tilt the drum a few degrees and a flat sea starts to look like the edge of a planet. Walls running towards the camera stretch; buildings at the sides of the frame shrink. Some people fight this, others build pictures around it, and the anamorphic pinhole cameras take the distortion even further on purpose.
Close subjects suffer most. A bench a metre away at the edge of a 140-degree frame comes out long and thin, while a hill five kilometres away keeps its shape. Rocks, tree trunks and coastlines work well for exactly this reason, and so do interiors where the walls wrap around the viewer anyway.
A horizon on the centre line stays straight; everything else bends towards it.
Building one at home
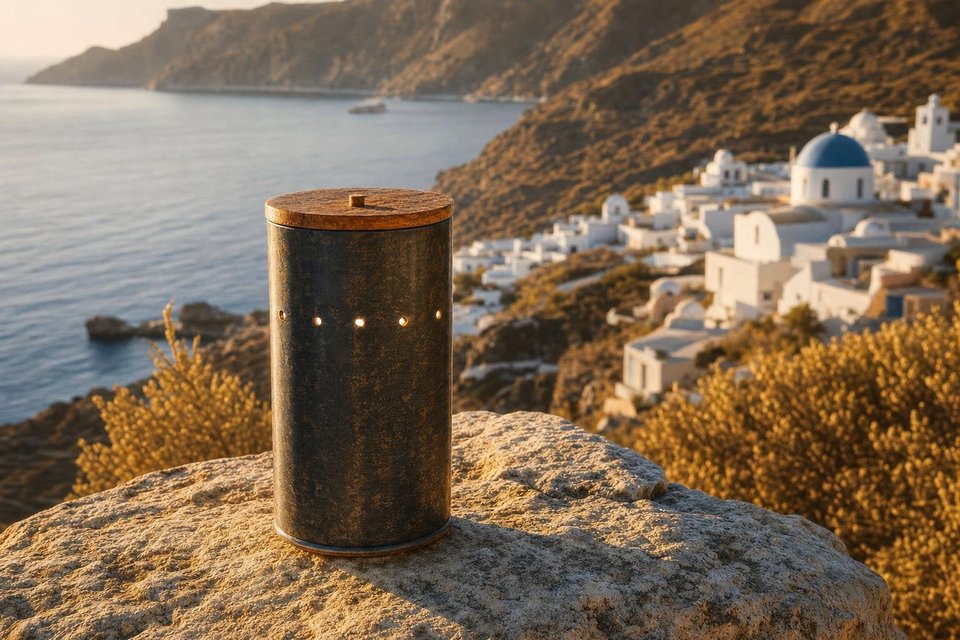
The cheapest panoramic pinhole camera costs nothing at all. A cardboard tube from a roll of kitchen foil, or a round biscuit tin, gives a body. Paint the inside matt black or line it with black card. Fix a square of thin aluminium over a hole in the side and prick it with a fine needle, checking the size against a ruler under a magnifier. Cut photo paper to the height of the tube and to the arc length from the table, curl it with the emulsion facing the hole and tape the ends.
Paper negatives are the right place to start. They are slow, somewhere around ISO 3 to 6, they can be handled under a red safelight and developed in a tray in minutes, and a failed sheet costs very little. Once the coverage looks right, move on to film. Roll film in a curved holder gives finer detail and much shorter exposures but needs a changing bag and a way to wind. Printed bodies help here, and the 3D-printed pinhole camera plans show how far a home printer can take a design.
A tripod is not optional. At f/270, even in bright sun, the exposure on most films runs to around a second or more, and the drum must not move while every hole is open. A flat rock, a wall or a fence post will do in a pinch, with a bean bag under the tin to stop it rolling.
A pinhole body cap on a mirrorless camera, such as the Wanderlust Pinwide for Micro Four Thirds, makes wide, soft frames at high ISO without a tripod in good light. Turned in steps on a tripod head and stitched afterwards, those frames give a full-circle pinhole panorama with clean joins, though the curved, bent-horizon look of a drum camera is lost.
Where these cameras shine
Wide views reward subjects with a strong line: a coastline, a canal bend, the curve of an amphitheatre. They also suit places where you stand in the middle of the scene rather than in front of it, like a forest clearing or a city square. In bright Mediterranean light the exposures are short enough to hold people in the frame if they stand still; in northern winter they turn into ghosts.
The extra width also catches the sun. With a 120-degree view, it is hard to keep the sun out of a daytime frame, and the pinhole renders it as a soft burst with a halo rather than a hard flare. Those bright patches sometimes become the centre of the picture. Leave them in.
One detail nobody mentions until the first roll comes back: with film curled round a drum, the frame number on the backing paper no longer matches the spacing of the exposures, so mark the advance on the winding knob in turns rather than trusting the window.
Frequently Asked Questions
Can a single pinhole cover a full 360 degrees?
No. A single hole only sees what lies in front of it, and on a cylinder with the hole in the wall the theoretical limit is just under 180 degrees, reached only if film covered the entire inner wall. A full circle needs either several holes, each with its own share of the film, or a camera that turns while it exposes. Most home-built designs settle on four or more holes separated by internal walls.
What is the easiest panoramic pinhole camera to build at home?
A round tin or card tube with a single hole in its side and a strip of photo paper curled against the opposite wall. It needs nothing but tape, black paint, a needle and a sheet of paper cut to height. The paper negative comes out of the developer as a wide, curved view of roughly 90 to 130 degrees, depending on how far round the tube the strip reaches.
Why do straight lines bend in cylindrical pinhole pictures?
The film is curved but the print is flat. A horizon running across the middle stays straight, while any line above or below it, such as a roof edge, is recorded along the curve and then flattened, so it bows towards the top or bottom of the frame. Tilting the camera makes the effect much stronger, which is why many photographers keep it level and place the horizon on the centre line.
Do panoramic pinhole pictures need longer exposures?
Usually yes, because the box is deeper than a matchbox or small 35 mm camera and the f-number climbs with depth. A tube 100 mm across has a working aperture of about f/270 at the centre of the frame. With a meter reading of 1/125 s at f/22 that is roughly 1.2 seconds before any reciprocity correction, and far longer on paper negatives.
Can a digital camera make pinhole panoramas?
Yes, by stitching. A pinhole body cap on a mirrorless camera gives a soft, wide frame, and a series of overlapping frames turned on a tripod can be joined in panorama software. High ISO keeps each frame short. The result differs from a curved-film negative: the joins are clean and the perspective is chosen in software rather than fixed by the shape of the box.