Makers
Pinhole Photographers and Pinhole Camera Makers: Builders and Solargraphers
Pinhole photographers and pinhole camera makers: the builders, solargraphers and alternative-process printers, and the questions behind every process.
Pinhole photography attracts a particular kind of person. Some come from woodwork or engineering and care most about the box. Some come from painting and want the soft, slow image. Others arrive from chemistry, from teaching, from astronomy. What they share is a willingness to give up control over sharpness and speed in return for something a lens cannot do.
This section gathers pages on the makers’ side of pinhole photography: the cameras people build, the processes they choose and the ideas that drive them. At the foot of this page, a list links to articles on panoramic drum cameras, printed bodies, cyanotype, peel-apart film and the well-known names of the field.
Three kinds of pinhole maker
Most pinhole photographers fall, loosely, into one of three groups, and many move between them over the years.
| Kind of maker | Typical tools | What the work is about |
|---|---|---|
| Camera builders | Wood, card, tins, 3D printers, brass shim | The box itself: format, film transport, curved backs, several holes |
| Solargraphers | Cans, plastic tubes, photo paper, a scanner | Time: the sun's path over months, the slow change of a place |
| Alternative-process printers | Paper negatives, cyanotype, salt, gum and contact frames | The print: colour, surface and the hand-made object |
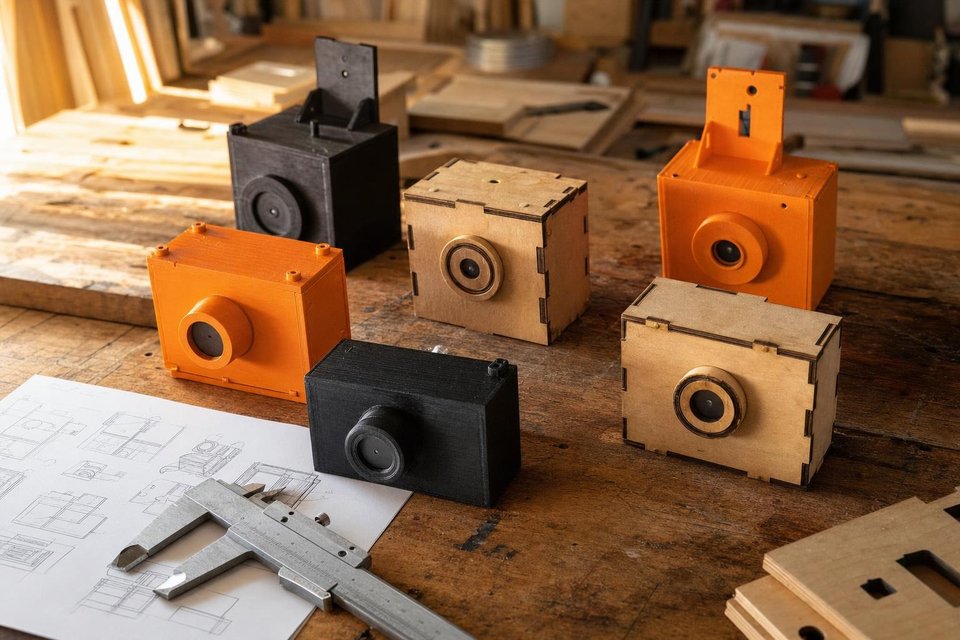
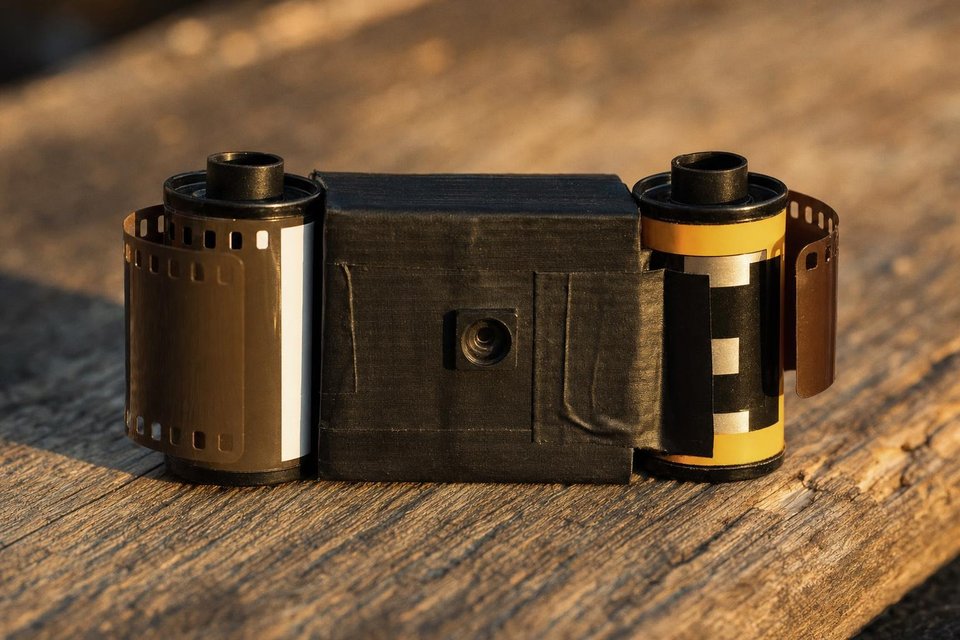
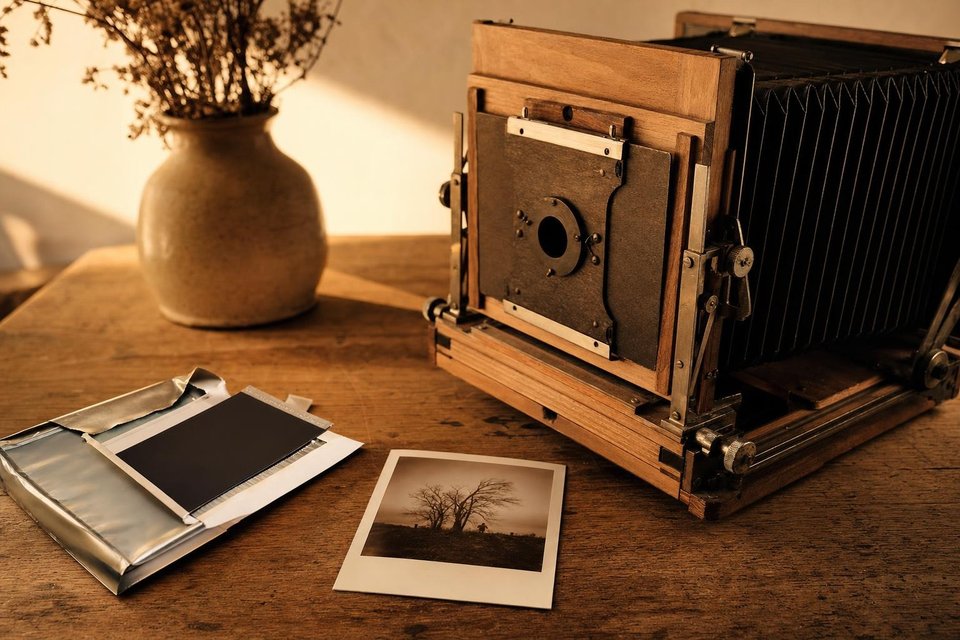
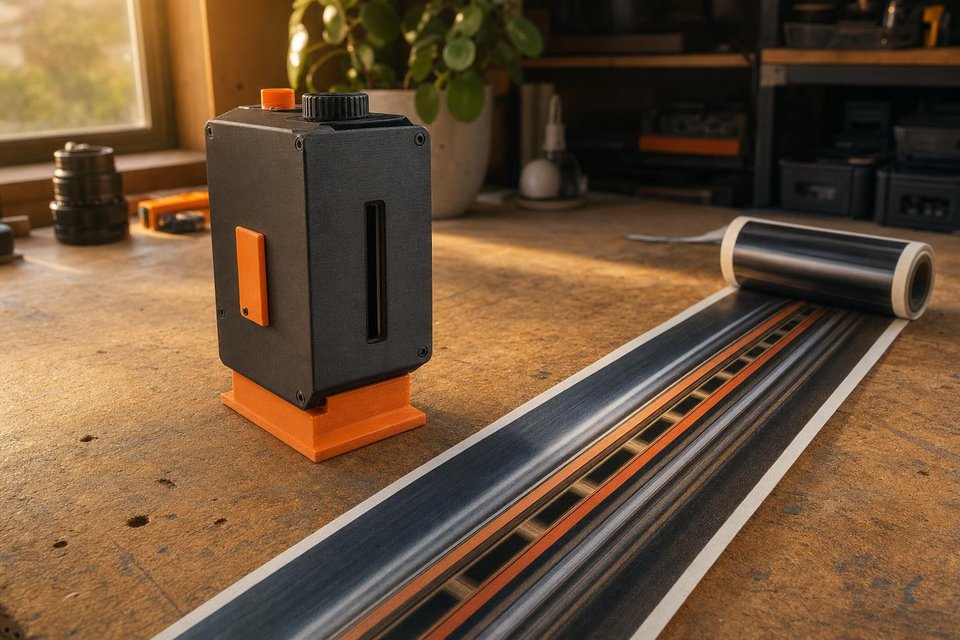
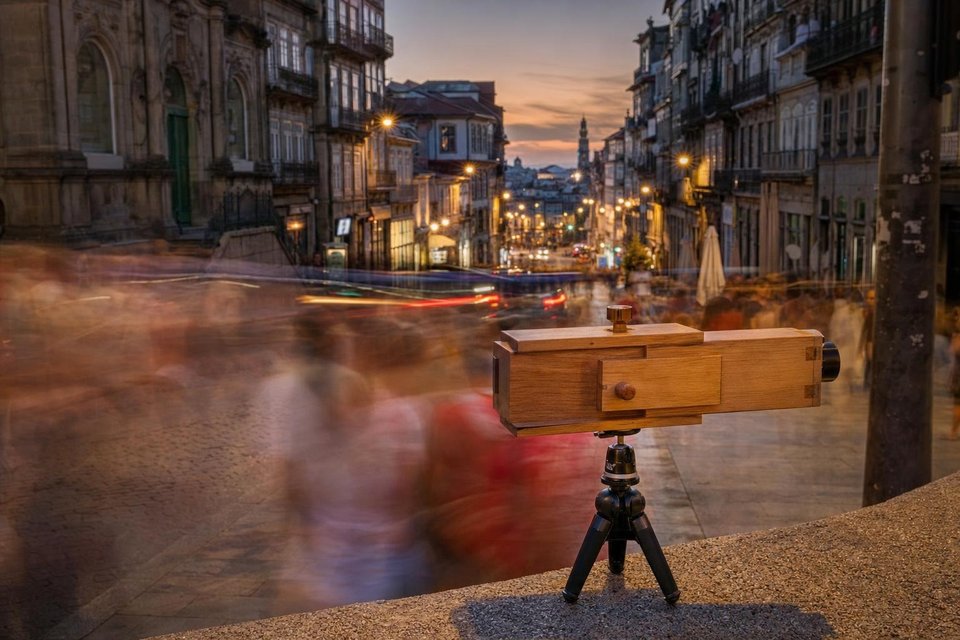
Camera builders are the easiest to spot, because their cameras often attract more attention than their pictures. A builder might spend a winter perfecting a curved film holder, or design a body that can be printed in a few hours at home. The 3D-printed pinhole camera plans show where that kind of work has gone in recent years, and the panoramic drum cameras show what a curved back can do.
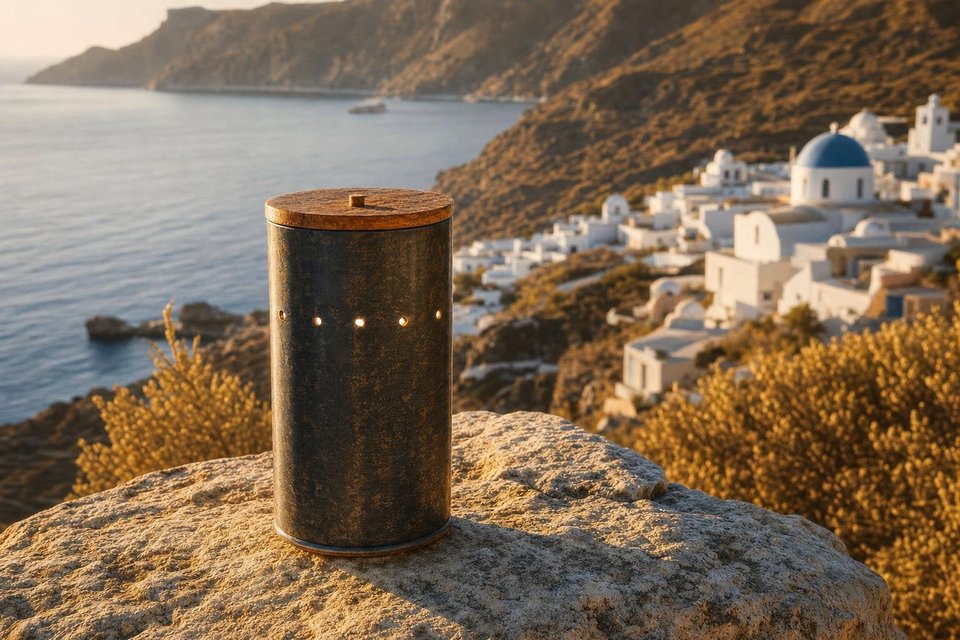
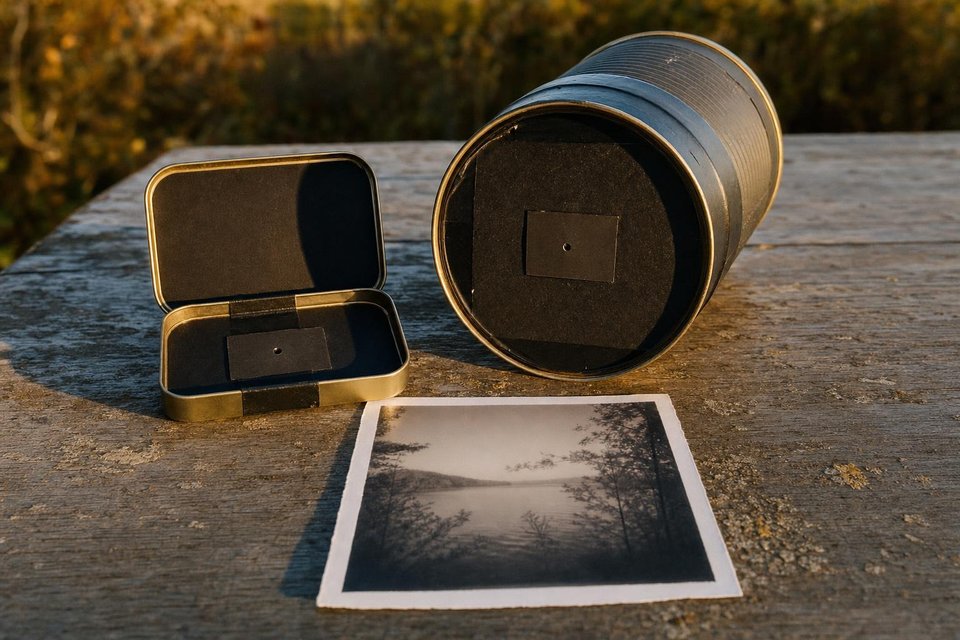
Solargraphers care less about the camera, which is often a drinks can, and more about what happens over a season. Their pictures are records of time as much as of place. The hard part is not the build but the site: a post, a roof or a fence where a can can stay untouched from one solstice to the next, facing south in the northern hemisphere, without being taken down by a curious passer-by.
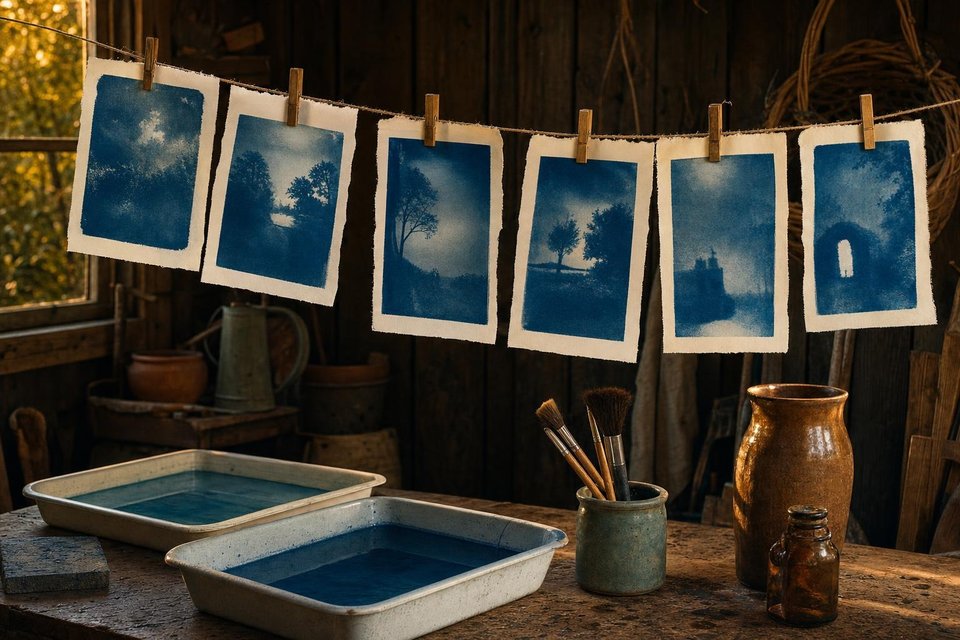
Printers start from the other end. For them the negative is a step on the way to a finished sheet, and the pinhole is chosen because its softness suits processes like cyanotype, where fine detail would be lost anyway.
Questions behind every process
Talk to anyone who has worked with pinholes for a while and the same decisions come up, whatever the camera. They are worth asking before buying or building anything.
- Film, paper or sensor? Each sets the speed, the cost per frame and how soon you see a result.
- How wide? The distance from hole to film decides the angle of view and the f-number together.
- How long can the camera stand still? Seconds on a wall, minutes on a tripod, months on a post.
- One picture or many? A single paper negative, a roll of twelve, or a can that records one image for half a year.
- What happens after the exposure? A darkroom print, a contact print in the sun, or a scan.
None of these has a right answer. A builder of fine wooden cameras and a teenager with a matchbox are answering the same questions, just differently, and the answers show in the pictures.
Pinhole communities share plans, exposure tables and tips freely, and much of the field's knowledge circulates without a single author. Photographs are different. Each one belongs to the person who made it, and the courtesy of asking before sharing someone's picture holds just as much here as anywhere else in photography.
Where the craft is passed on
Most of what pinhole photographers know is learned from each other. Workshops in schools and colleges often use pinhole cameras to explain how a camera works, because nothing hides the principle. Online groups trade exposure notes, film tests and build logs. Once a year, on the last Sunday of April, Worldwide Pinhole Photography Day collects pictures from thousands of participants, beginners and long-time makers side by side.
Books matter too. The standard histories, including the work of the Pinhole Resource in New Mexico, are covered on the page about famous pinhole photographers, alongside the solargraphy projects that grew out of Poland in 2000.
The maker’s notebook
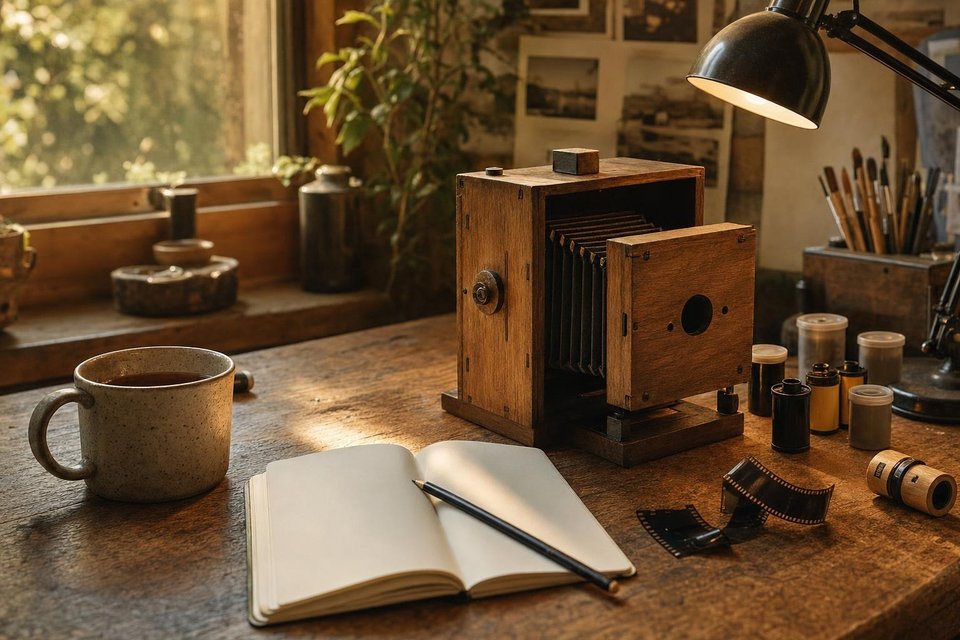
Ask an experienced pinhole photographer what matters most and the answer is rarely a camera. It is the notebook. Because nothing about a pinhole exposure is printed on the film, and because two frames of the same scene can differ by minutes, the written record is the only way to learn from a roll. Most makers settle on a short, fixed set of entries.
- Camera and hole. Which box, its depth and its f-number, especially when several cameras are in use.
- Light. The meter reading at f/22, or a note such as hazy sun or deep shade.
- Time given. The calculated time, then the time actually given after correcting for the film.
- Result. Added after developing: thin, dense or right, and what to change next time.
After a few rolls, patterns appear. One camera always comes out a little thin, a certain paper needs half as long again in winter, a shaded street needs far more than the meter suggests. That accumulated knowledge is what separates a maker from someone who owns a pinhole camera, and it is the part no plan or kit can supply.
A simple way to start
For anyone curious about joining the makers, the cheapest start is still the best one. Build a matchbox or a shoebox camera from the pinhole camera guide, load it with photo paper, and spend an afternoon making test exposures of one wall in changing light. It teaches more about exposure than any table, and the first faint paper negative coming up in the developer explains why so many people never stop.
Keep the failures. Pinhole makers tend to learn more from a fogged sheet with a light leak along one edge than from a perfect frame, and a box of them is the closest thing to a teacher the craft has.
All makers
Frequently Asked Questions
Do pinhole photographers usually build their own cameras?
Many do at least once, because a working camera can be made from a box, foil and tape in an afternoon. Plenty then move on to a ready-made wooden or plastic camera for reliability and keep the home-made ones for experiments. Others go the opposite way and build every camera themselves, treating the box as part of the picture rather than a tool for making it.
What materials do pinhole camera makers use?
Card, wood and metal tins are the classic choices, with thin brass or drinks-can aluminium for the pinhole itself. Recent years have added 3D-printed plastic, which makes precise film transports and curved film planes easier to build. Whatever the body, the inside must be matt black and the joints light-tight, and the pinhole must be clean, round and the right size for the depth.
Is pinhole photography mainly done on film?
Film and photo paper are the most common, because long exposures and soft images suit them and the materials are cheap in large formats. Digital pinhole is popular too, using a pinhole body cap on a mirrorless or DSLR camera. It gives instant feedback and short exposures at high ISO, at the cost of the large negative that makes film pinhole prints so smooth.
How do pinhole photographers learn the craft?
Mostly by doing. Workshops, books such as the standard histories of the subject, and online groups all help, but exposure in a pinhole camera is learned through test sheets and notes. Keeping a record of each frame, with the f-number, the meter reading and the time given, is the habit almost every experienced pinhole photographer shares.