Exposure
Zero Image Pinhole Cameras: An Exposure Guide With Dials and Worked Tables
An exposure guide for Zero Image pinhole cameras: apertures, dial calculators, EV readings, reciprocity for film and how to print a pocket exposure card.
A light meter knows nothing about pinholes. Most stop at f/22 or f/32, and a Zero Image pinhole camera works at apertures several stops beyond that, so every picture involves a small sum: take the reading, scale it to the real aperture, then stretch it again if the film is slow to respond. Done in the head on a cold hillside, that sum goes wrong more often than anyone likes to admit.
The usual cure is a small printed card or a rotating dial kept in the camera bag. This page explains how such a Zero Image exposure guide is built, works through the numbers for typical apertures, and ends with a method for printing a personal card for any camera and film.
Zero Image Pinhole Cameras and Their Apertures
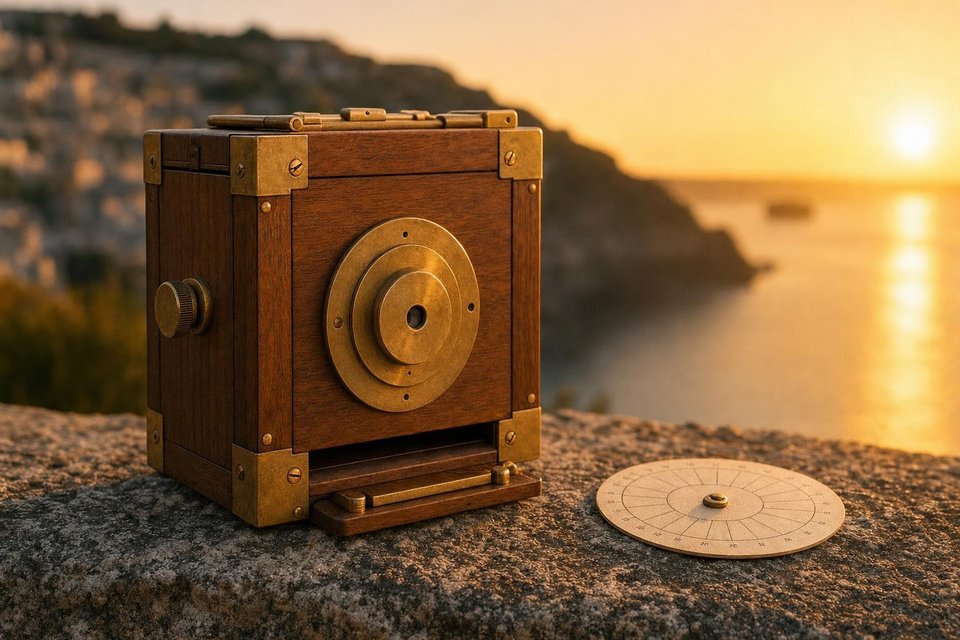
Zero Image has made wooden pinhole cameras in Hong Kong for many years, with teak bodies, brass fittings and a reputation for precise pinholes. The range covers 35 mm, several medium format sizes on 120 roll film and 4×5 inch sheet film. Several models accept a cable release, which helps on short daylight exposures where a finger on the shutter can shake the box.
For exposure purposes only one number counts: the f-number of the pinhole. The 35 mm models sit around f/138, roughly a 25 mm focal length behind a hole of about 0.18 mm. Medium format bodies with a longer box sit around f/235. Those two values are used throughout this page as worked examples, but the figure engraved on a given camera or printed in its manual always wins over a typical value.
Those factors come from squaring the ratio of the two apertures. Light falls off with the area of the hole, and area grows with the square of the diameter, so f/138 against f/22 is (138 ÷ 22)² or about 39 times the exposure. In stops that is just over five; f/235 is a little under seven stops slower than f/22.
How a Dial Exposure Guide Works
A dial is a circular slide rule. Two discs share a centre pin. The outer one carries a scale of metered times at a reference aperture, the inner one a scale of pinhole times, and the gap between them is fixed at the factor for one camera. Turning the dial to the metered time shows the pinhole time opposite, with no arithmetic on the spot.
Many photographers prefer a flat card instead, because it never slips and fits behind a phone case. The column on the left lists metered times at the reference aperture, the next column gives the calculated pinhole time, and further columns show corrected times for particular films. The calculator below does the same job live, with the default set to f/138.
The reference aperture is arbitrary as long as the card and the meter agree. Some older guides use f/8 or f/16. Using f/22 keeps the factor smaller and matches the largest number most phone apps will show.
Reading EV Instead of Seconds
Some meters display exposure value rather than a shutter speed. EV is a single number for a given brightness at a given film speed: EV 15 is roughly bright sun at ISO 100, EV 12 to 13 an overcast day, EV 8 to 10 a lit street after dark or a bright interior. Converting EV to a pinhole time needs only the f-number. The time in seconds equals the f-number squared divided by two raised to the power of the EV.
That formula looks fussy but turns into a very handy table. Each step down in EV doubles the time, so one row can be memorised and the rest worked out by doubling.
| EV (ISO 100) | Typical light | f/138 | f/235 |
|---|---|---|---|
| 15 | Bright sun | 0.6 s | 1.7 s |
| 13 | Overcast | 2.3 s | 6.7 s |
| 11 | Deep shade, dusk | 9.3 s | 27 s |
| 9 | Bright interior | 37 s | 108 s |
| 7 | Dim interior | 149 s | 431 s |
Reciprocity and the Second Correction
Film behaves predictably at normal speeds and then gets lazy. Past about a second, doubling the time no longer doubles the density on the negative, so a pinhole exposure calculated by pure arithmetic comes out thin. This is reciprocity failure, and it is the reason a good Zero Image exposure guide carries separate columns for each film.
Ilford publishes a straightforward correction for its HP5 Plus and FP4 Plus films: take the metered time in seconds and raise it to the power of 1.31. Other manufacturers publish tables or graphs instead, and colour films can drift in colour as well as density. Exact figures for each stock belong to the maker’s own data sheets, found on sites such as ilfordphoto.com, rather than to a copied card.
| Meter at f/22 | f/138 | f/138 HP5 Plus | f/235 | f/235 HP5 Plus |
|---|---|---|---|---|
| 1/125 s | 0.3 s | 0.3 s | 0.9 s | 0.9 s |
| 1/60 s | 0.7 s | 0.7 s | 1.9 s | 2.3 s |
| 1/30 s | 1.3 s | 1.4 s | 3.8 s | 5.8 s |
| 1/15 s | 2.6 s | 3.5 s | 7.6 s | 14 s |
| 1/8 s | 4.9 s | 8.1 s | 14 s | 33 s |
| 1/4 s | 9.8 s | 20 s | 29 s | 81 s |
| 1/2 s | 20 s | 50 s | 57 s | 200 s |
The right-hand column shows why corrections matter. A half-second reading in a church interior becomes almost a minute at f/235 by arithmetic, then more than three minutes once the film is taken into account. Getting that wrong costs nearly two stops.
Write the corrected time on the back of the hand or on a strip of tape on the camera before opening the shutter. Counting seconds for three minutes while also remembering the target is harder than it sounds.
When the Negatives Disagree With the Card
Thin negatives across a whole roll usually mean the f-number on the card is wrong, or the correction for film was skipped. Thin negatives only on the longest exposures point at reciprocity alone, and dense ones in bright sun often come from rounding a 0.3 s exposure up to a full second because a finger on the shutter cannot count fractions. Each pattern has a different fix, which is why a few notes per frame are worth the trouble.
Multi-format bodies add one more trap. A Zero Image pinhole camera that takes masks for several frame sizes on 120 film keeps the same pinhole and the same f-number whatever the mask, so the exposure does not change, only the winding count. Cameras with a second pinhole or an extension, on the other hand, change the f-number, and each setting needs its own column. Sheet film is the most forgiving case: each negative can be developed on its own, so a doubtful exposure can be bracketed across two sheets, as described in the notes on 4×5 pinhole photography.


Making Your Own Zero Image Exposure Guide
A printed card takes about an hour to make and lasts for years. The same method works for any camera, including a home-made box from the pinhole camera guide, and it is the most reliable way to keep a Zero Image pinhole camera exposing well from the first roll.
- Find the true f-number. Take it from the camera or its manual. For a home-made box, divide the focal length by the measured hole.
- Pick a reference aperture. Use whatever the meter or app can display; f/22 suits most.
- List the meter readings. Write the standard speeds from 1/1000 s to 2 s down the first column.
- Multiply. Fill the second column with each reading multiplied by the factor, rounded to sensible values.
- Add one column per film. Apply each maker's published correction to every time over a second.
- Print small and laminate. A card the size of a bank card fits in a wallet or tucks under a camera strap.
Two cards are often enough: one for the 35 mm camera and one for the medium format box, each with three or four films. Anyone shooting a single favourite film can skip the extra columns and print a narrow strip to tape to the camera body itself. A test roll in mixed light, with notes on each frame, then confirms whether the card runs slightly generous or slightly mean.
Phones have taken over part of this job. Dedicated pinhole apps accept any f-number and apply reciprocity automatically, and clip-on meters such as the one covered in the Ondu and Lumu first look read incident light directly. A paper card still has one advantage that no app shares: it works with a flat battery, in the rain, at the end of a long day on the coast. The rest of the learning path, from building a box to developing the film, is set out on the guides page.

Frequently Asked Questions
Which f-number should be used for a Zero Image camera?
Use the figure printed on the camera or in its instructions rather than a value from memory, because the range includes several focal lengths and some models offer more than one. As a rough orientation, the 35 mm bodies sit around f/138 and the deeper medium format bodies somewhere above f/200. A difference of that size is more than a stop and a half, so the right number matters.
Does colour negative film need reciprocity correction too?
Yes, although manufacturers publish it in different ways. Some give a formula, others a table of extra stops for given metered times, and a few simply recommend testing. Colour film can also shift in colour on very long exposures. Negative film's wide latitude hides a lot, so a correction that is roughly right usually prints well, while slide film shows every error.
Can a phone light meter app be trusted for pinhole work?
For most scenes, yes. Phone apps read reflected light through the phone's camera and usually agree closely with a hand-held meter in ordinary daylight. They struggle in very dim interiors and with strongly backlit subjects. Checking an app once against a known meter, or against a test roll, settles how far to trust it.
Why meter at f/22 and not at the pinhole aperture directly?
Most meters and apps stop at f/22 or f/32 and cannot display f/138 or f/235. Reading at f/22 and multiplying by a fixed factor gets around that limit. Meters that accept any aperture, including some pinhole-specific apps, can give the time directly, and the result should match the multiplied reading before any correction for film is added.